If you haven't yet, read my last blog about Getting into Fall. It will set the mood for this fun activity. As I thought about decorating for fall, I realized that I didn't have a fall wreath, and everyone needs a fall wreath! So I googled it to see if I could find any cool ideas to copy. I found one! It's from a blog called Crafting Mom (I know, I know. Totally nerdy. But I loved it!). Her idea was to make roses with felt and hot glue them onto a wreath. Perfect. So I picked up some felt in a few fall colors and got to work.

A couple of years ago, I found a 10' strand of branches at a garage sale. I figured I would find a use for it one day. And I did!

Here are the colors that I used for the wreath: burgundy, brown, tan and gold.

I cut a piece of the branches that was the size I was looking for. I think my wreath is about a foot to a foot and a half in diameter.

Then I had to find a way to bind the branches together. I figured a rubber band would probably be the best choice, and it ended up being pretty easy to do. It would obviously be much easier to start with a pre-made wooden wreath, so I recommend doing that.

To disguise the rubber band, I found a golden yellow ribbon that added a really nice touch to the wreath.
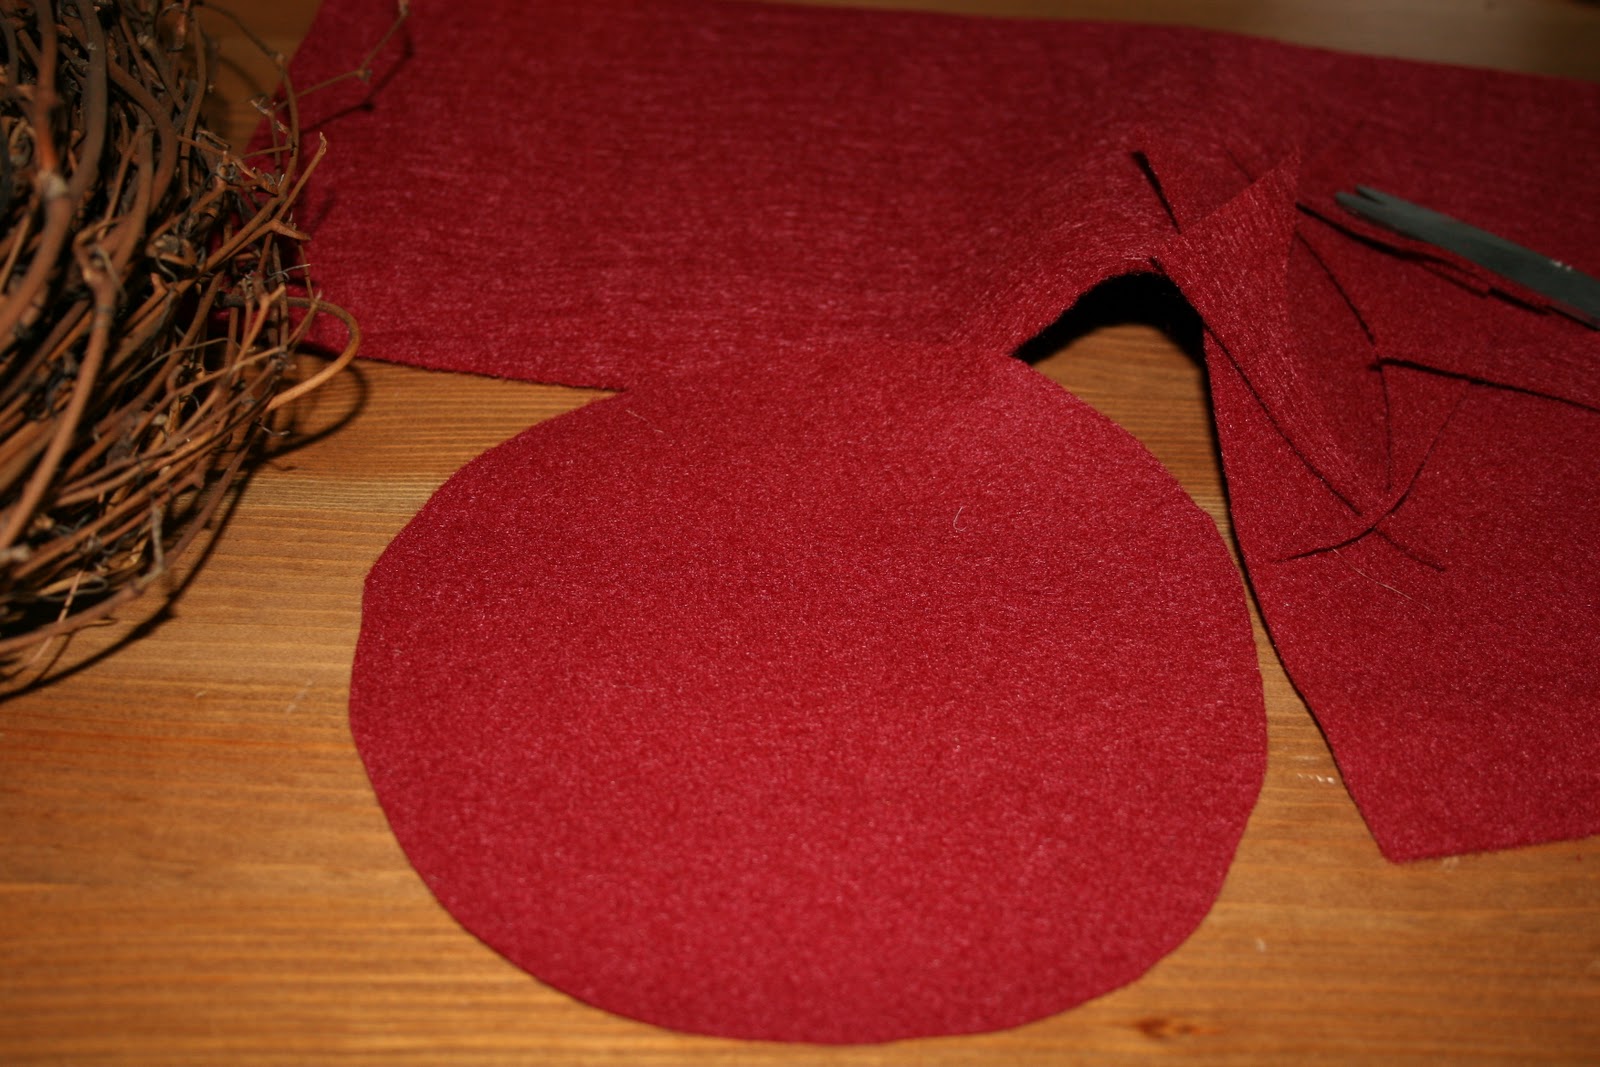
Now to make the roses. I cut the felt into circles (anywhere between 4" and 8" in diameter). It helps to have special fabric cutting scissors, but as long as your scissors are sharp, you should be fine.

Then I cut the circles into fairly wide swirls. Starting from the center and working my way outside, I begin to wrap the felt swirls into the shape of roses. I used my hot glue gun occasionally to glue the roses together.

It ended up being easier than I thought it would.


Baby roses!

I arranged the roses the way I wanted them and hot glued them onto the wreath. My only regret is that I didn't buy use any gold/orange felt roses. I might add some next year, but for now, here's my wreath!
No comments:
Post a Comment